Replacing a Component
The Component Replace function allows you to replace an existing component with another component with similar functionality, when replacing a component the properties are kept and copied over to the new component, e.g. the port and pin the component is connected to and even properties such as the Polarity etc.
There is also an option to 'Preserve current scale' which can be ticked to keep the size / scale of the component, this is especially useful when modifying and expanding existing programs so that the position and size of the component remain the same to adapt into the program as the position of the component is kept the same by default.
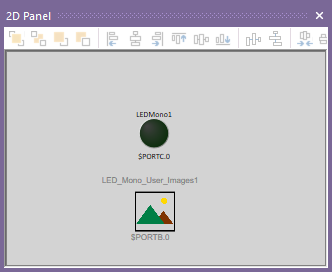
To replace a component,first add the component that you wish to have as a replacement, this will add the component to Flowcodes memory.
You can copy the handle of the new component at this point since the handle will remain the same on changed component.
You can now delete the component you just added as its served its purpose
right-click on a selected component on either the 2D panels or 3D system panel and then select 'Replace' option in the context menu. This brings up the 'Component Replacement' window which contains a list of components to choose from to replace the component. This list consists of recently used components as well as components with similar functionality to adequately replace the selected component. There will be times when the required replacement component won't be shown. For example, the LED Mono is currently used and you want to replace it with an LED that will use your own images.
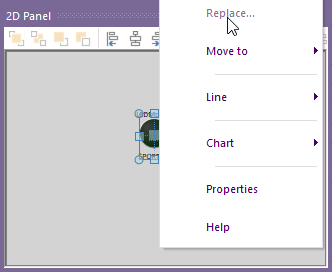
There are a lot of LED Mono macros to replace so it would be a lot quicker to use the replace option. In this case, there are no alternative components as the 'Replace' option is grayed out.
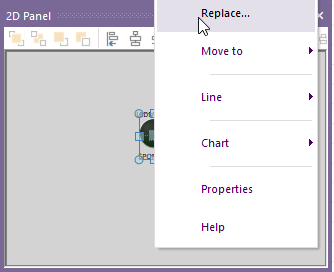
Now the replace option is no longer greyed out so you can select the LED user images.
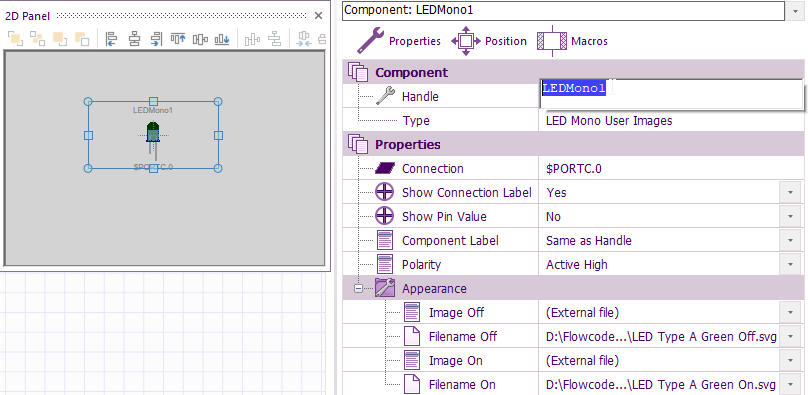
Finally, you might want to change the component title name as that will remain as the original components name, by clicking on the name next to Handle.


